
Knowing how to deep clean an air fryer is essential if you want your appliance to perform at its best. Regular cleaning helps prevent smoke, unpleasant odors, grease buildup, and uneven cooking.
While wiping down the basket after each use is important, every air fryer also needs a thorough deep cleaning from time to time. In this guide, you’ll learn how to deep clean an air fryer safely and effectively using simple household supplies.
Table of Contents
- Why You Should Deep Clean Your Air Fryer
- How Often Should You Deep Clean an Air Fryer?
- Supplies You’ll Need
- Step 1: Unplug and Cool the Air Fryer
- Step 2: Remove and Wash Removable Parts
- Step 3: Clean the Interior
- Step 4: Deep Clean the Heating Element
- Step 5: Clean the Fan Area
- Step 6: Remove Stubborn Grease
- Step 7: Clean the Exterior
- Step 8: Dry and Reassemble
- Mistakes to Avoid When Cleaning an Air Fryer
- Frequently Asked Questions
- Final Thoughts
Why You Should Deep Clean Your Air Fryer
Deep cleaning your air fryer provides several important benefits.
A clean appliance:
- Cooks food more evenly.
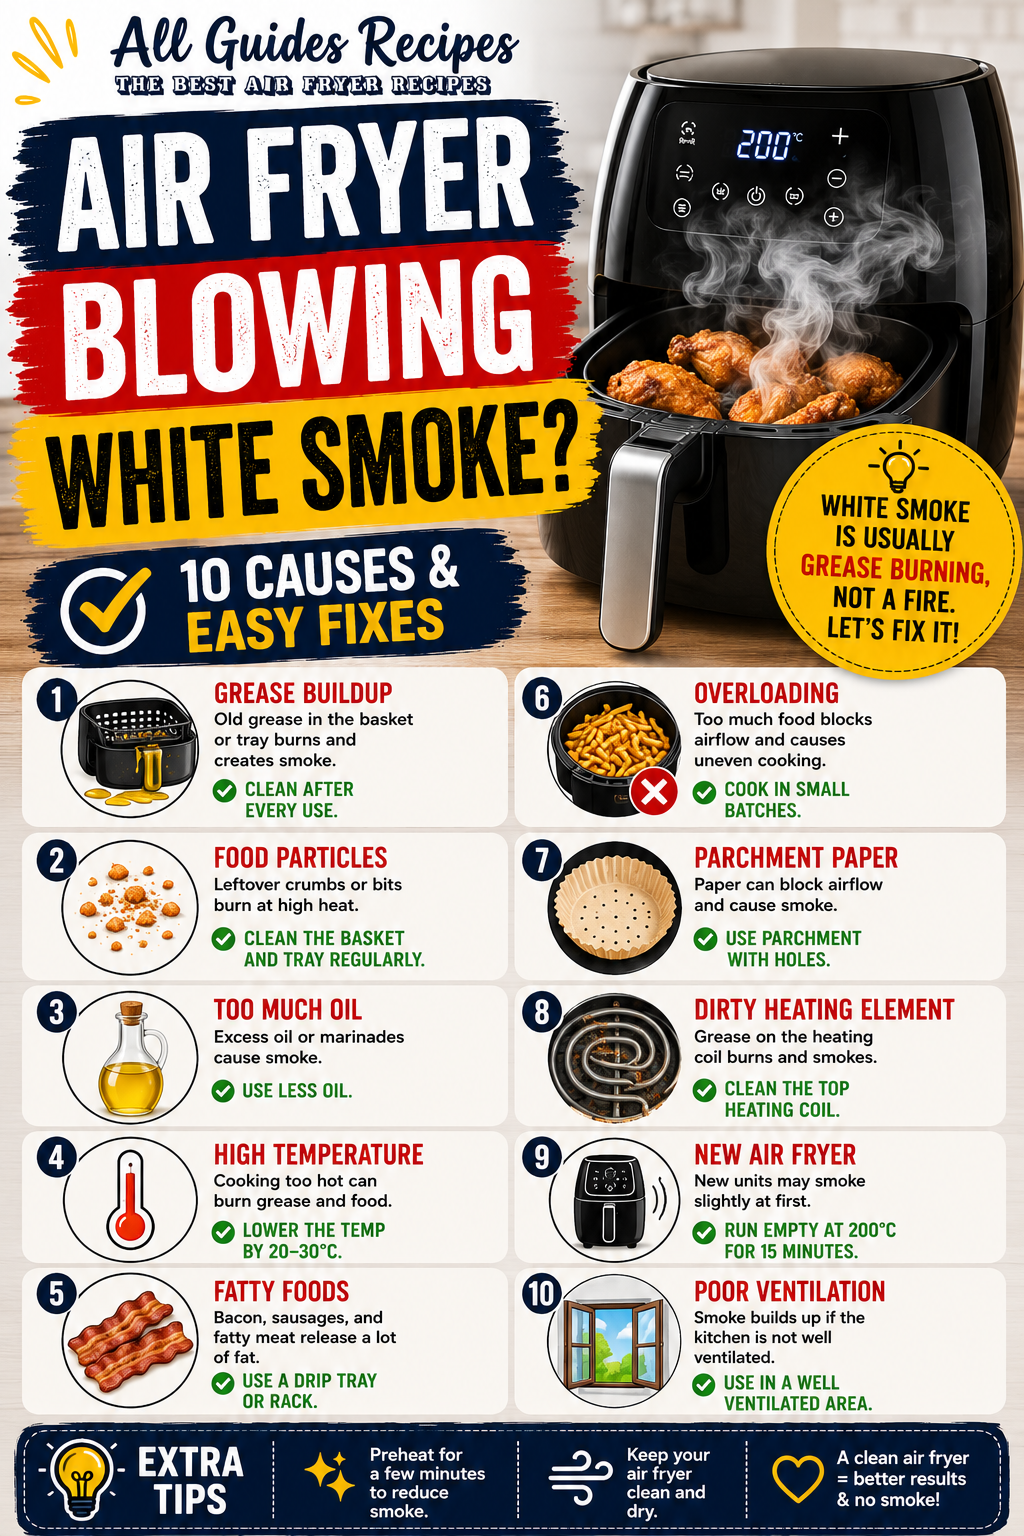
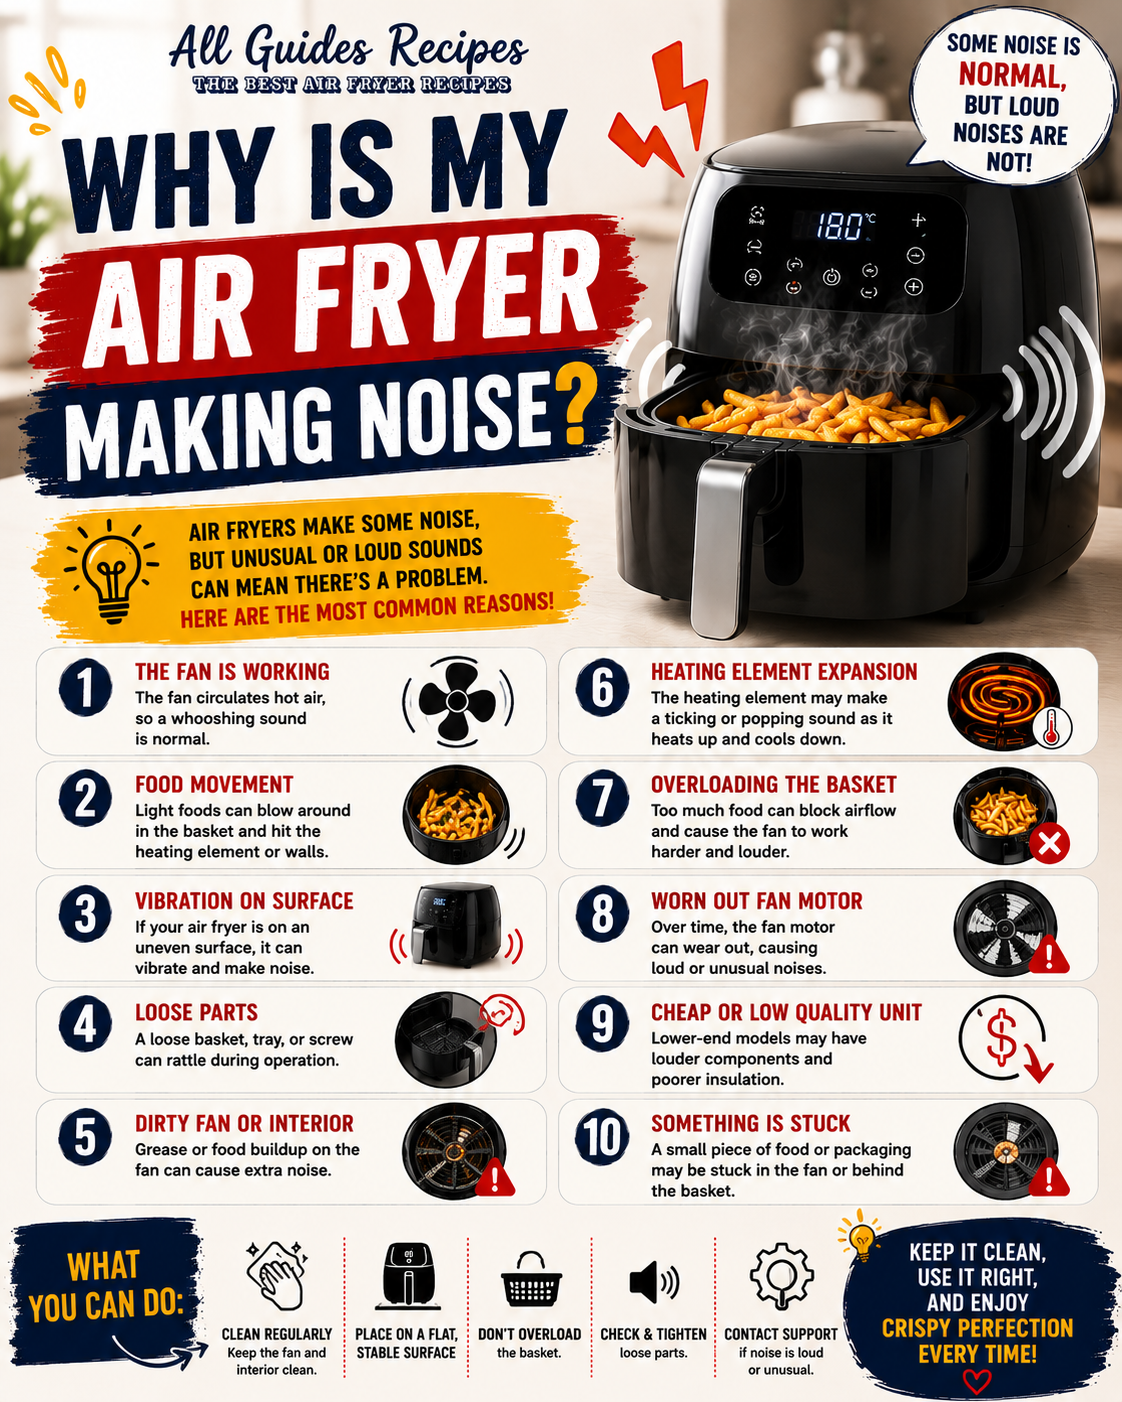
- Reduces smoke during cooking.
- Eliminates unpleasant odors.
- Prevents grease buildup.
- Extends the lifespan of the appliance.
Grease and food residue can accumulate over time, affecting both performance and food quality.
How Often Should You Deep Clean an Air Fryer?
Experts recommend wiping down your air fryer after every use.
However, you should deep clean an air fryer at least once a month, or more frequently if you regularly cook fatty foods such as:
- Bacon
- Sausages
- Burgers
- Chicken thighs
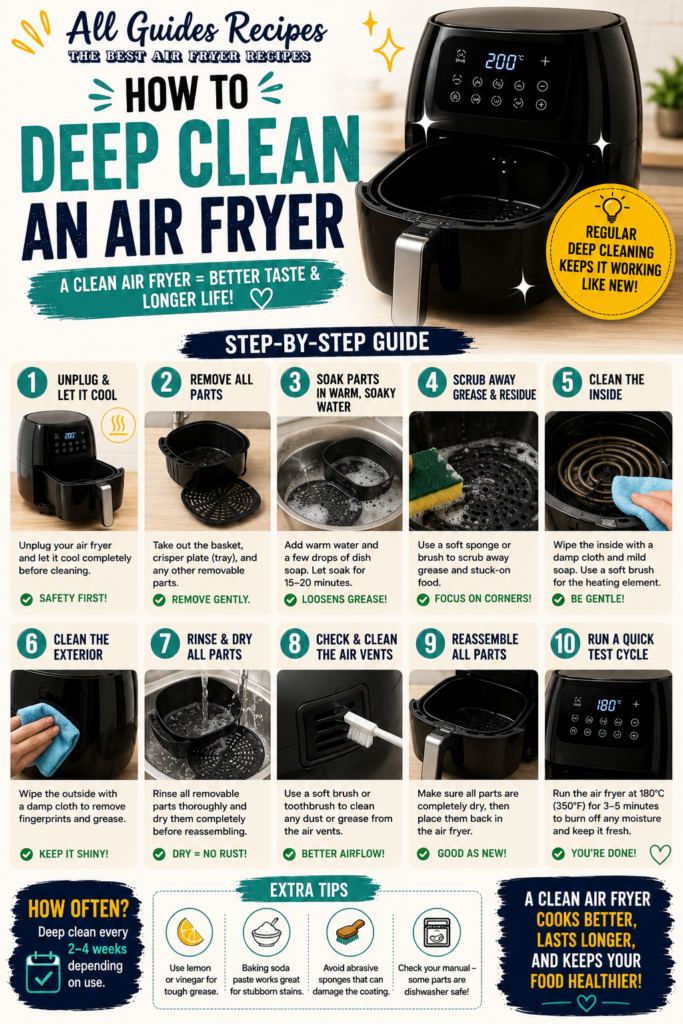
Heavy users may benefit from deep cleaning every two weeks.
Supplies You’ll Need
Before you deep clean your air fryer, gather the following supplies:
- Warm water
- Mild dish soap
- Soft sponge
- Microfiber cloth
- Soft-bristle brush
- Non-abrasive scrub brush
- White vinegar
- Baking soda
- Toothbrush for hard-to-reach areas
Avoid using metal utensils or abrasive scrubbers that may damage the non-stick coating.
Step 1: Unplug and Cool the Air Fryer
Safety always comes first.
Before you deep clean an air fryer:
- Turn off the appliance.
- Unplug it from the outlet.
- Allow it to cool completely.
Never clean an air fryer while it is still hot.
Step 2: Remove and Wash Removable Parts
Remove:
- Basket
- Crisper plate
- Drawer
- Racks and accessories
Wash these parts using warm, soapy water.
If food residue is stubborn, soak the components for 15 to 20 minutes before scrubbing gently.
Most removable parts are dishwasher-safe, but always consult your owner’s manual first.
Step 3: Clean the Interior of the Air Fryer
Grease and crumbs often accumulate inside the cooking chamber.
Use a damp microfiber cloth or soft sponge to wipe:
- Interior walls
- Bottom tray area
- Cooking chamber
Avoid excessive water inside the appliance.
Step 4: Deep Clean the Heating Element
The heating element is one of the most overlooked areas during cleaning.
Grease buildup on the heating element can cause smoke and unpleasant odors.
To clean it:
- Turn the air fryer upside down if recommended by the manufacturer.
- Use a soft brush to remove debris.
- Wipe the heating element gently with a damp cloth.
Never use sharp tools or metal brushes.
Step 5: Clean the Fan Area
Food particles and grease may collect near the fan.
Use a soft brush or dry microfiber cloth to remove visible debris.
Take care not to damage delicate components.
Step 6: Remove Stubborn Grease
If grease buildup remains after washing, create a simple cleaning paste.
Mix:
- 2 tablespoons baking soda
- Small amount of water
Apply the paste to greasy areas and allow it to sit for 10 minutes before gently scrubbing.
White vinegar may also help loosen stubborn residue.
Step 7: Clean the Exterior
Don’t forget the outside of your air fryer.
Wipe the exterior surfaces with a damp cloth to remove fingerprints, grease, and dust.
Pay special attention to:
- Handle
- Control panel
- Air vents
Step 8: Dry and Reassemble
Allow all parts to dry completely before reassembling the appliance.
Moisture trapped inside the air fryer can lead to odors and poor performance.
Once dry:
- Reinstall all removable components.
- Plug the appliance back in.
- Run it empty for a few minutes if desired.
7 Mistakes to Avoid When Cleaning an Air Fryer
1. Cleaning While the Appliance Is Hot
Always allow your air fryer to cool first.
2. Using Abrasive Scrubbers
Steel wool and harsh brushes can damage non-stick coatings.
3. Soaking the Main Unit in Water
The electrical base should never be submerged.
4. Ignoring the Heating Element
Many smoke problems originate here.
5. Using Harsh Chemicals
Avoid bleach and strong cleaning agents.
6. Forgetting to Dry Components
Residual moisture may cause odors.
7. Skipping Regular Cleaning
Routine maintenance reduces the need for heavy scrubbing.
Frequently Asked Questions
How often should I deep clean my air fryer?
Most households should deep clean an air fryer at least once a month.
Can I put air fryer parts in the dishwasher?
Many baskets and trays are dishwasher-safe, but check your owner’s manual first.
How do I remove burnt grease from my air fryer?
Soak removable parts in warm, soapy water and use a baking soda paste for stubborn grease.
Can I use oven cleaner inside my air fryer?
No. Harsh chemicals may damage non-stick coatings.
Why does my air fryer still smell after cleaning?
Grease buildup on the heating element or fan may still be present.
Final Thoughts
Learning how to deep clean an air fryer is one of the best ways to maintain your appliance. Regular deep cleaning helps reduce smoke, improve cooking performance, and extend the life of your air fryer.
By following these simple steps, you can keep your air fryer clean, safe, and performing like new for years to come.